Loading...
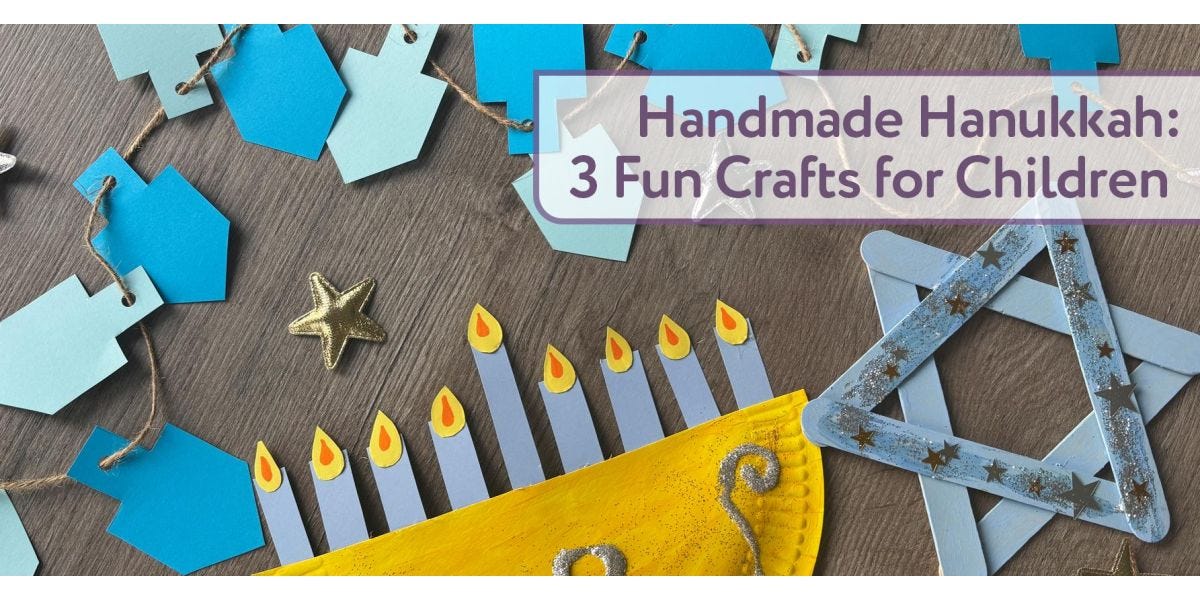
Hanukkah is a wonderful time for family and friends to come together and celebrate, and what better way to get children involved than through crafts! Here are three engaging Hanukkah-themed crafts, each inspired by traditional symbols of the holiday. These activities are simple, fun, and perfect for kids to create decorations for the Hanukkah season.
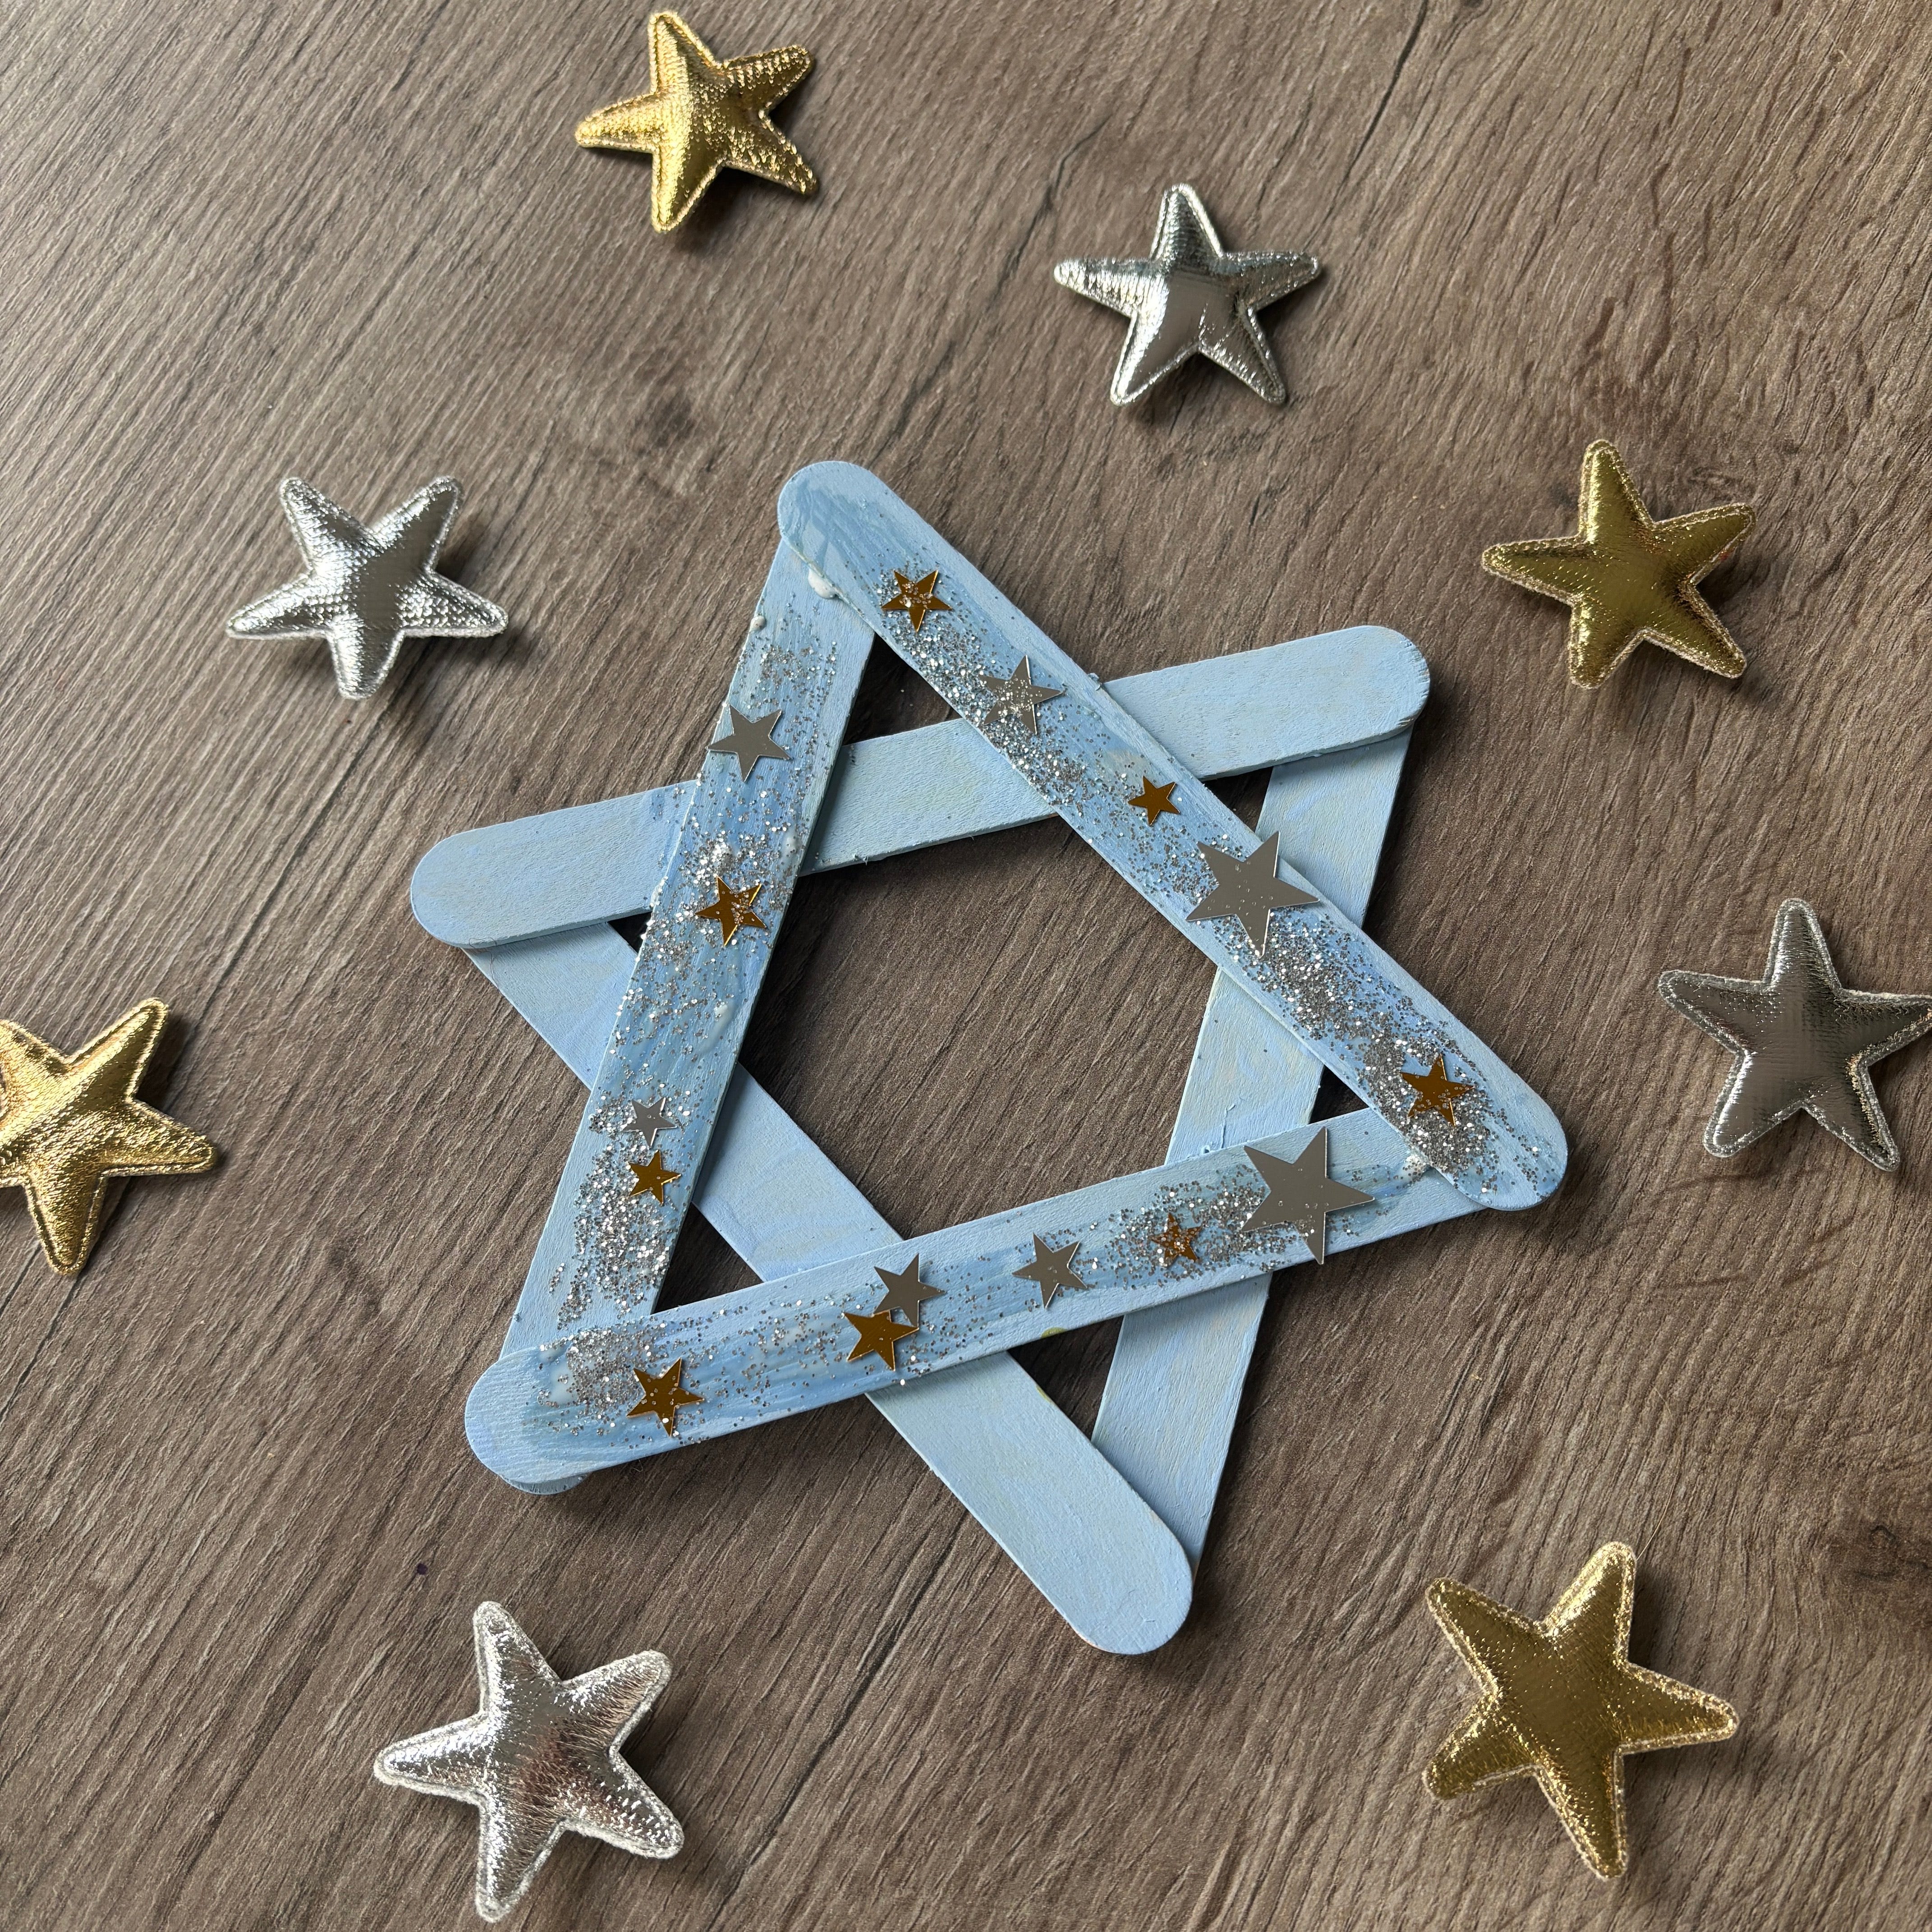
1. Star of David Lolly Stick Ornament
The Star of David is one of the most recognised symbols of Jewish culture, representing unity and heritage. This lolly stick craft is a perfect way for kids to create their own version of this beautiful symbol to display at home.
What You’ll Need:
• 6 lolly sticks
• Blue paint or markers
• White glitter or paint splatter
• Glue
• Ribbon or string for hanging
Instructions:
1. Paint the popsicle sticks blue and let them dry completely.
2. Arrange three sticks in a triangle shape and glue the ends together. Repeat with the other three sticks to make a second triangle.
3. Place one triangle on top of the other, forming a Star of David shape, and glue them together.
4. Add some sparkle by applying white glitter or paint splatter to the sticks.
5. Attach a ribbon to the top so you can hang it as an ornament or decoration.
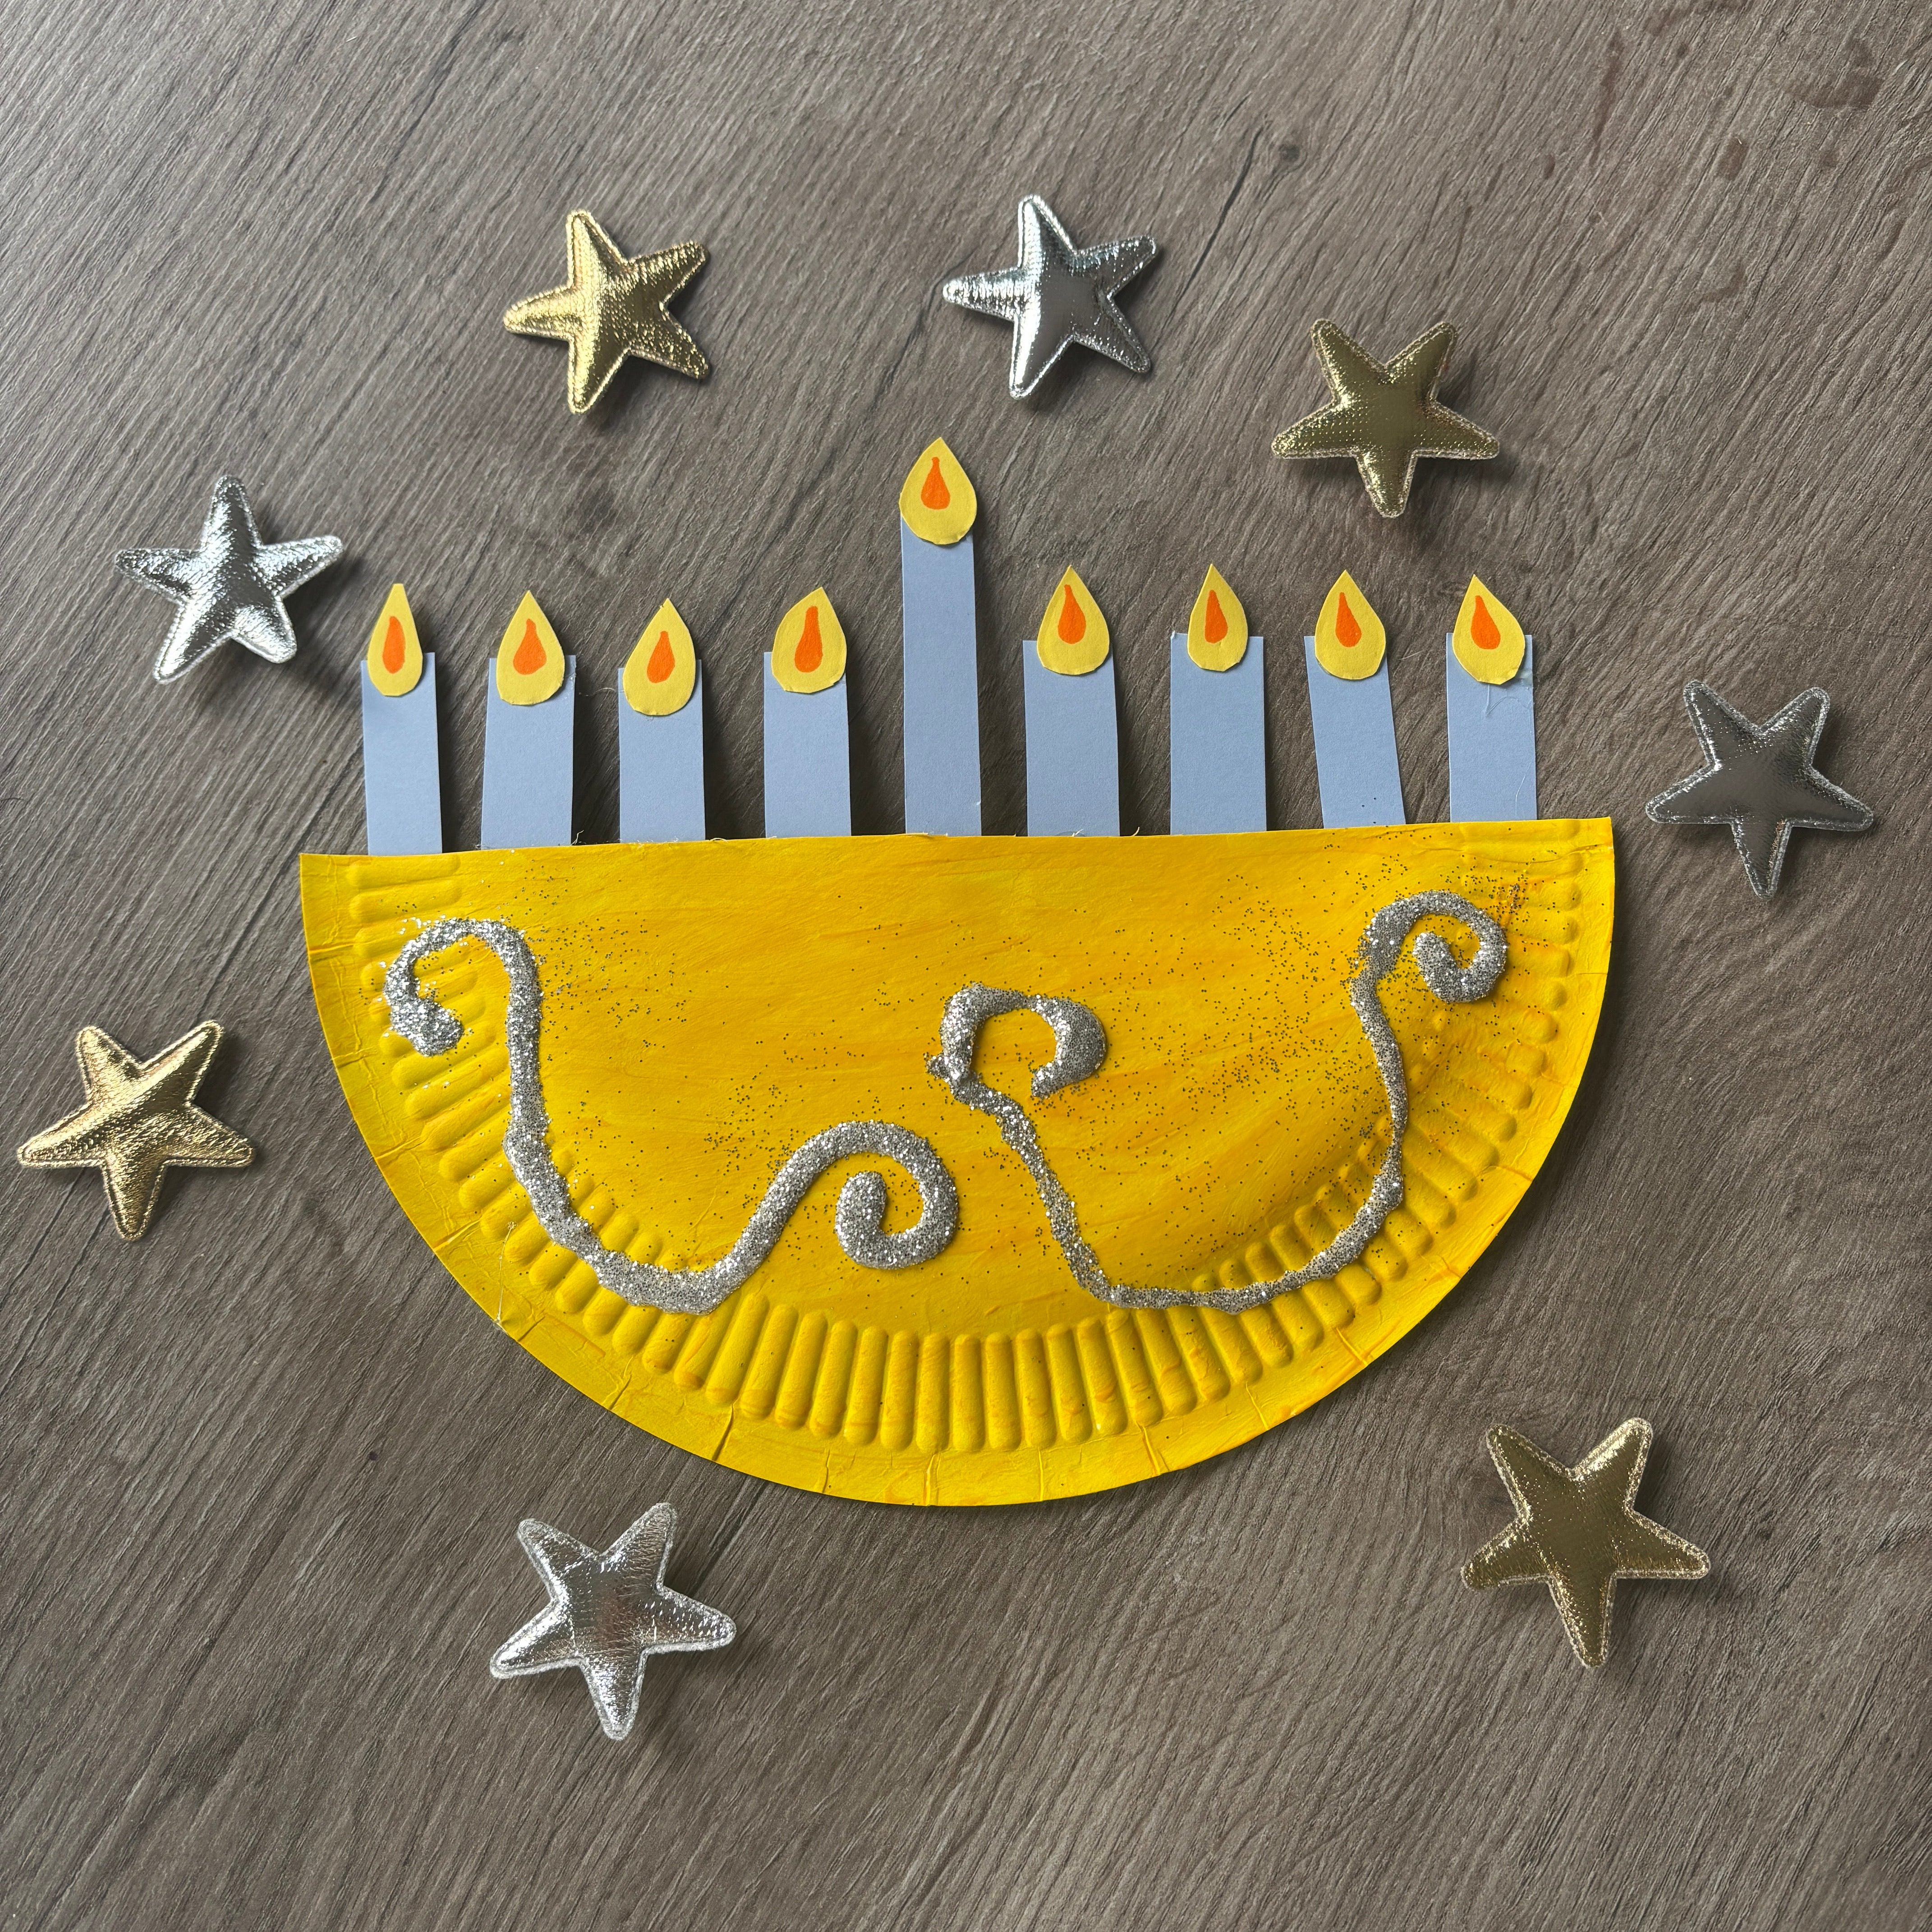
2. Menorah Paper Plate Craft
The menorah is central to Hanukkah celebrations, symbolising the miracle of the oil that burned for eight days in the ancient temple. This craft allows kids to create a colourful, child-friendly menorah using paper plates and poster paper, perfect for hanging as a cheerful decoration.
What You’ll Need:
• Half of a paper plate
• Yellow and blue paint
• Paintbrush
• Coloured paper
• Glue
• String for hanging
Instructions:
1. Start by cutting the paper plate in half, and then painting it yellow to represent the base of the menorah and let it dry.
2. Draw candle sticks on poster paper, then cut them out. The using orange and yellow paper, cut out shapes to represent the flames.
3. Glue the candles along the flat edge of the plate, placing one candle in the middle as the shamash (helper candle) and the rest on either side.
4. Punch holes on each side of the paper plate, thread a piece of string through, and tie it so you can hang the menorah on a wall or door.
3. DIY Hanukkah Dreidel Garland
The dreidel is a classic part of Hanukkah festivities, symbolising fun and the tradition of playing games during the holiday. This craft involves making a dreidel-themed garland to hang up around the house, bringing a festive and playful touch to your Hanukkah decor.
What You’ll Need:
• Blue card
• Scissors
• String or twine
• Glue or tape
• Silver star stickers or glitter (optional for decoration)
Instructions:
1. Cut out dreidel shapes from blue card. You can make them any size you like, but small and medium sizes work well for garlands.
2. Fold and glue the dreidel shapes to make them three-dimensional or keep them flat, depending on your preference.
3. Attach each dreidel shape to the string, spacing them out evenly. 4. Add silver star stickers or glitter to decorate the dreidels.
5. Hang the garland along a mantel, wall, or anywhere you want to add some Hanukkah spirit!

These Hanukkah crafts are a wonderful way to keep children entertained while celebrating the holiday. Plus, each craft introduces them to symbols of Hanukkah and helps them understand the meaning behind the festival. Whether you’re making ornaments, menorahs, or dreidels, these projects are sure to bring lots of joy and creativity to your holiday season!